tutorial
for
ProducerThe screens for the Windows and Macintosh version may differ, but they all work look like the Macintosh OSX version shown below. This tutorial will show you how easy it is to make a simple move and create a movie file.
Check out the QuickStart Guide for further details, as well as the Frequently Asked Questions.
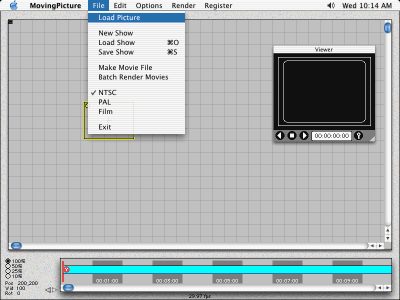
Click on the Load Picture item in the File menu.
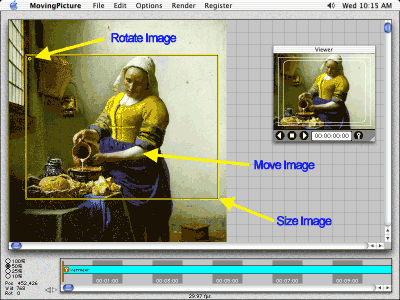
Choose a picture to move.
Drag yellow box to frame up start of move.
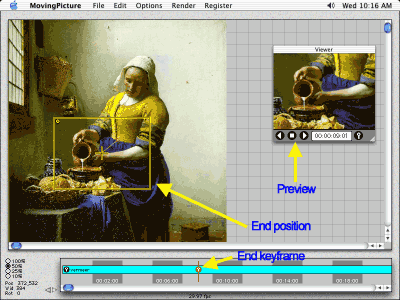
Choose time for end of move by clicking on Timeline.
Drag yellow box to frame up the end position of move.
Preview your move with the Viewer player buttons.
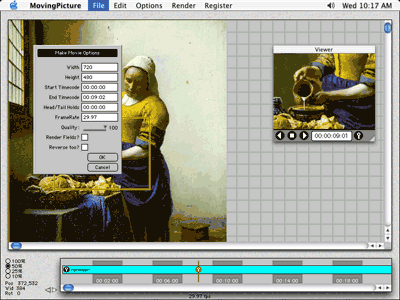
To make a movie file, click on the Make Movie item in the File menu.
A dialog box will appear to set information for the movie.
Make sure the height and width are EXACTLY the right size your editor needs.
You will then select a name to save the movie under.
You will then select a codec to use.
Make choose a codec native to your editor, so it will not need to be re-rendered on import into the editor.


