tutorial
for
Final Cut ProThis tutorial will show you how easy it is to make a simple move from the Final Cut Pro timeline. Check out the QuickStart Guide for further details, as well as the Frequently Asked Questions.
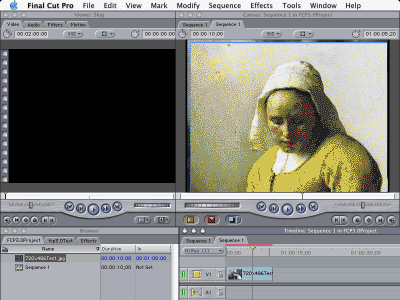
Open up Final Cut Pro and place a clip on the timeline.
The clip should be as long as you want the move to be.NOTE: This should be video clip or a video-size still.
Placing the hi-res still will slow rendering
and may cause other problems.Highlight the clip by double clicking on it.
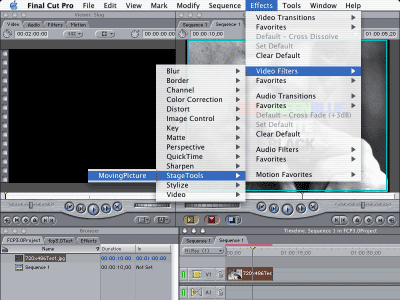
Select the Effects menu option from the menu bar.
Select the MovingPicture item from Video Filters/StageTools.
If it is not in the list, click here
Highlight the clip again by double clicking on it.
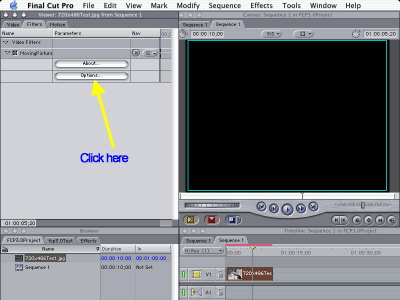
Select the Filters tab from the Viewer screen.
Click on the Options button under MovingPicture.
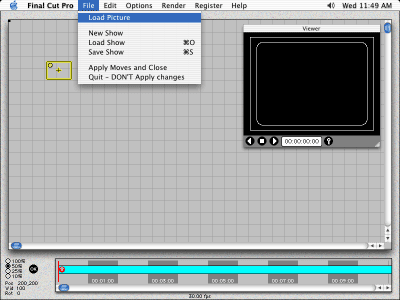
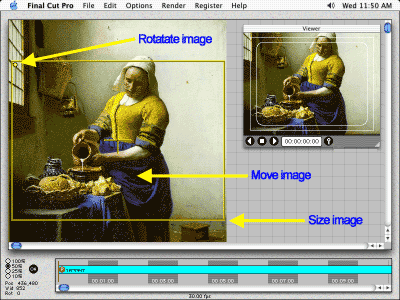
The MovingPicture screen will appear.
Click on the Load Picture item in the File menu.
Choose a picture to move.
Drag yellow box to frame up start of move.
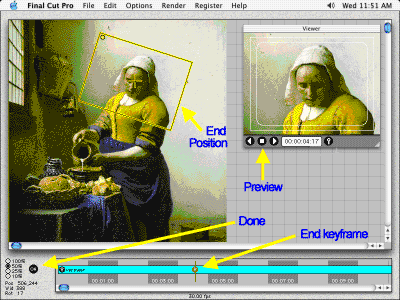
Choose time for end of move by clicking on Timeline.
Drag yellow box to frame up the end position of move.
Preview your move with the Viewer player buttons.
Click on the OK button to return to Final Cut Pro.
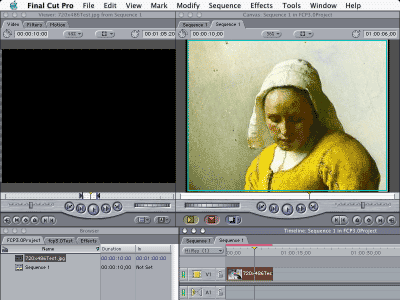
Click on the Sequence Render menu item to render the clip.
